
Quick Logger
As an Engineer in ERICSSON, I created some Innovation Tools, and up to Jun. 2016, these innovation program saved 716,857.12 SEK cost for company. I enjoy so much while I am trying to build things. for some more works information, please visit https://jsntn.com/ericsson
背景:
DCM NFV 项目中,CA 包含节点较多,测试过程中收取 log,抓包和下载工作实在耗时繁琐,该工具可以大大简化这些工作,从而让我们可以将更多时间专注于分析 log 和研究 workflow 上面。
Background:
In Japan DCM NFV Project, since there are many nodes in CA, and it takes us much time on collecting logs, tracing the packets and downloading, this is very time-consuming and tedious. This innovation could save your time and help you to concentrate on the issues and workflow.
版本/Version:
2017/01/20 V20170120 is released.
更新:
核心的批处理脚本统一放在一个路径下,改一处即全局生效
集成 Firefox
增加更多一键操作
2016/12/24 V20161224 is released.
Initial release.
功能:
- 一键查看本机端口占用情况
- 一键登录 CA 节点
- 一键收取所有 CA 节点 log
- 一键开始所有 CA 节点抓包
- 一键下载所有 CA 节点最新 trace 文件
- 一键登录 Fuel
- 一键 FTP 到 CA 任意节点,便于下载、上传文件
- 一键访问 NVFO GUI
- 一键访问 PG GUI
- 一键访问 F5 GUI
Function:
- One click to check ports avaiability
- One click to login CA nodes
- One click to start logging on all CA nodes
- One click to start tracing on all CA nodes
- One click to download the latest trace files from all CA nodes
- One click to login Fuel
- One click to transfer files to CA nodes
- One click to visit NVFO GUI
- One click to visit PG GUI
- One click to visit F5 GUI
特性:
- 绿色免安装
- 免除“端口转发”和“浏览器代理”的繁琐配置
- 无需与 Xshell,SecureCRT 等集成
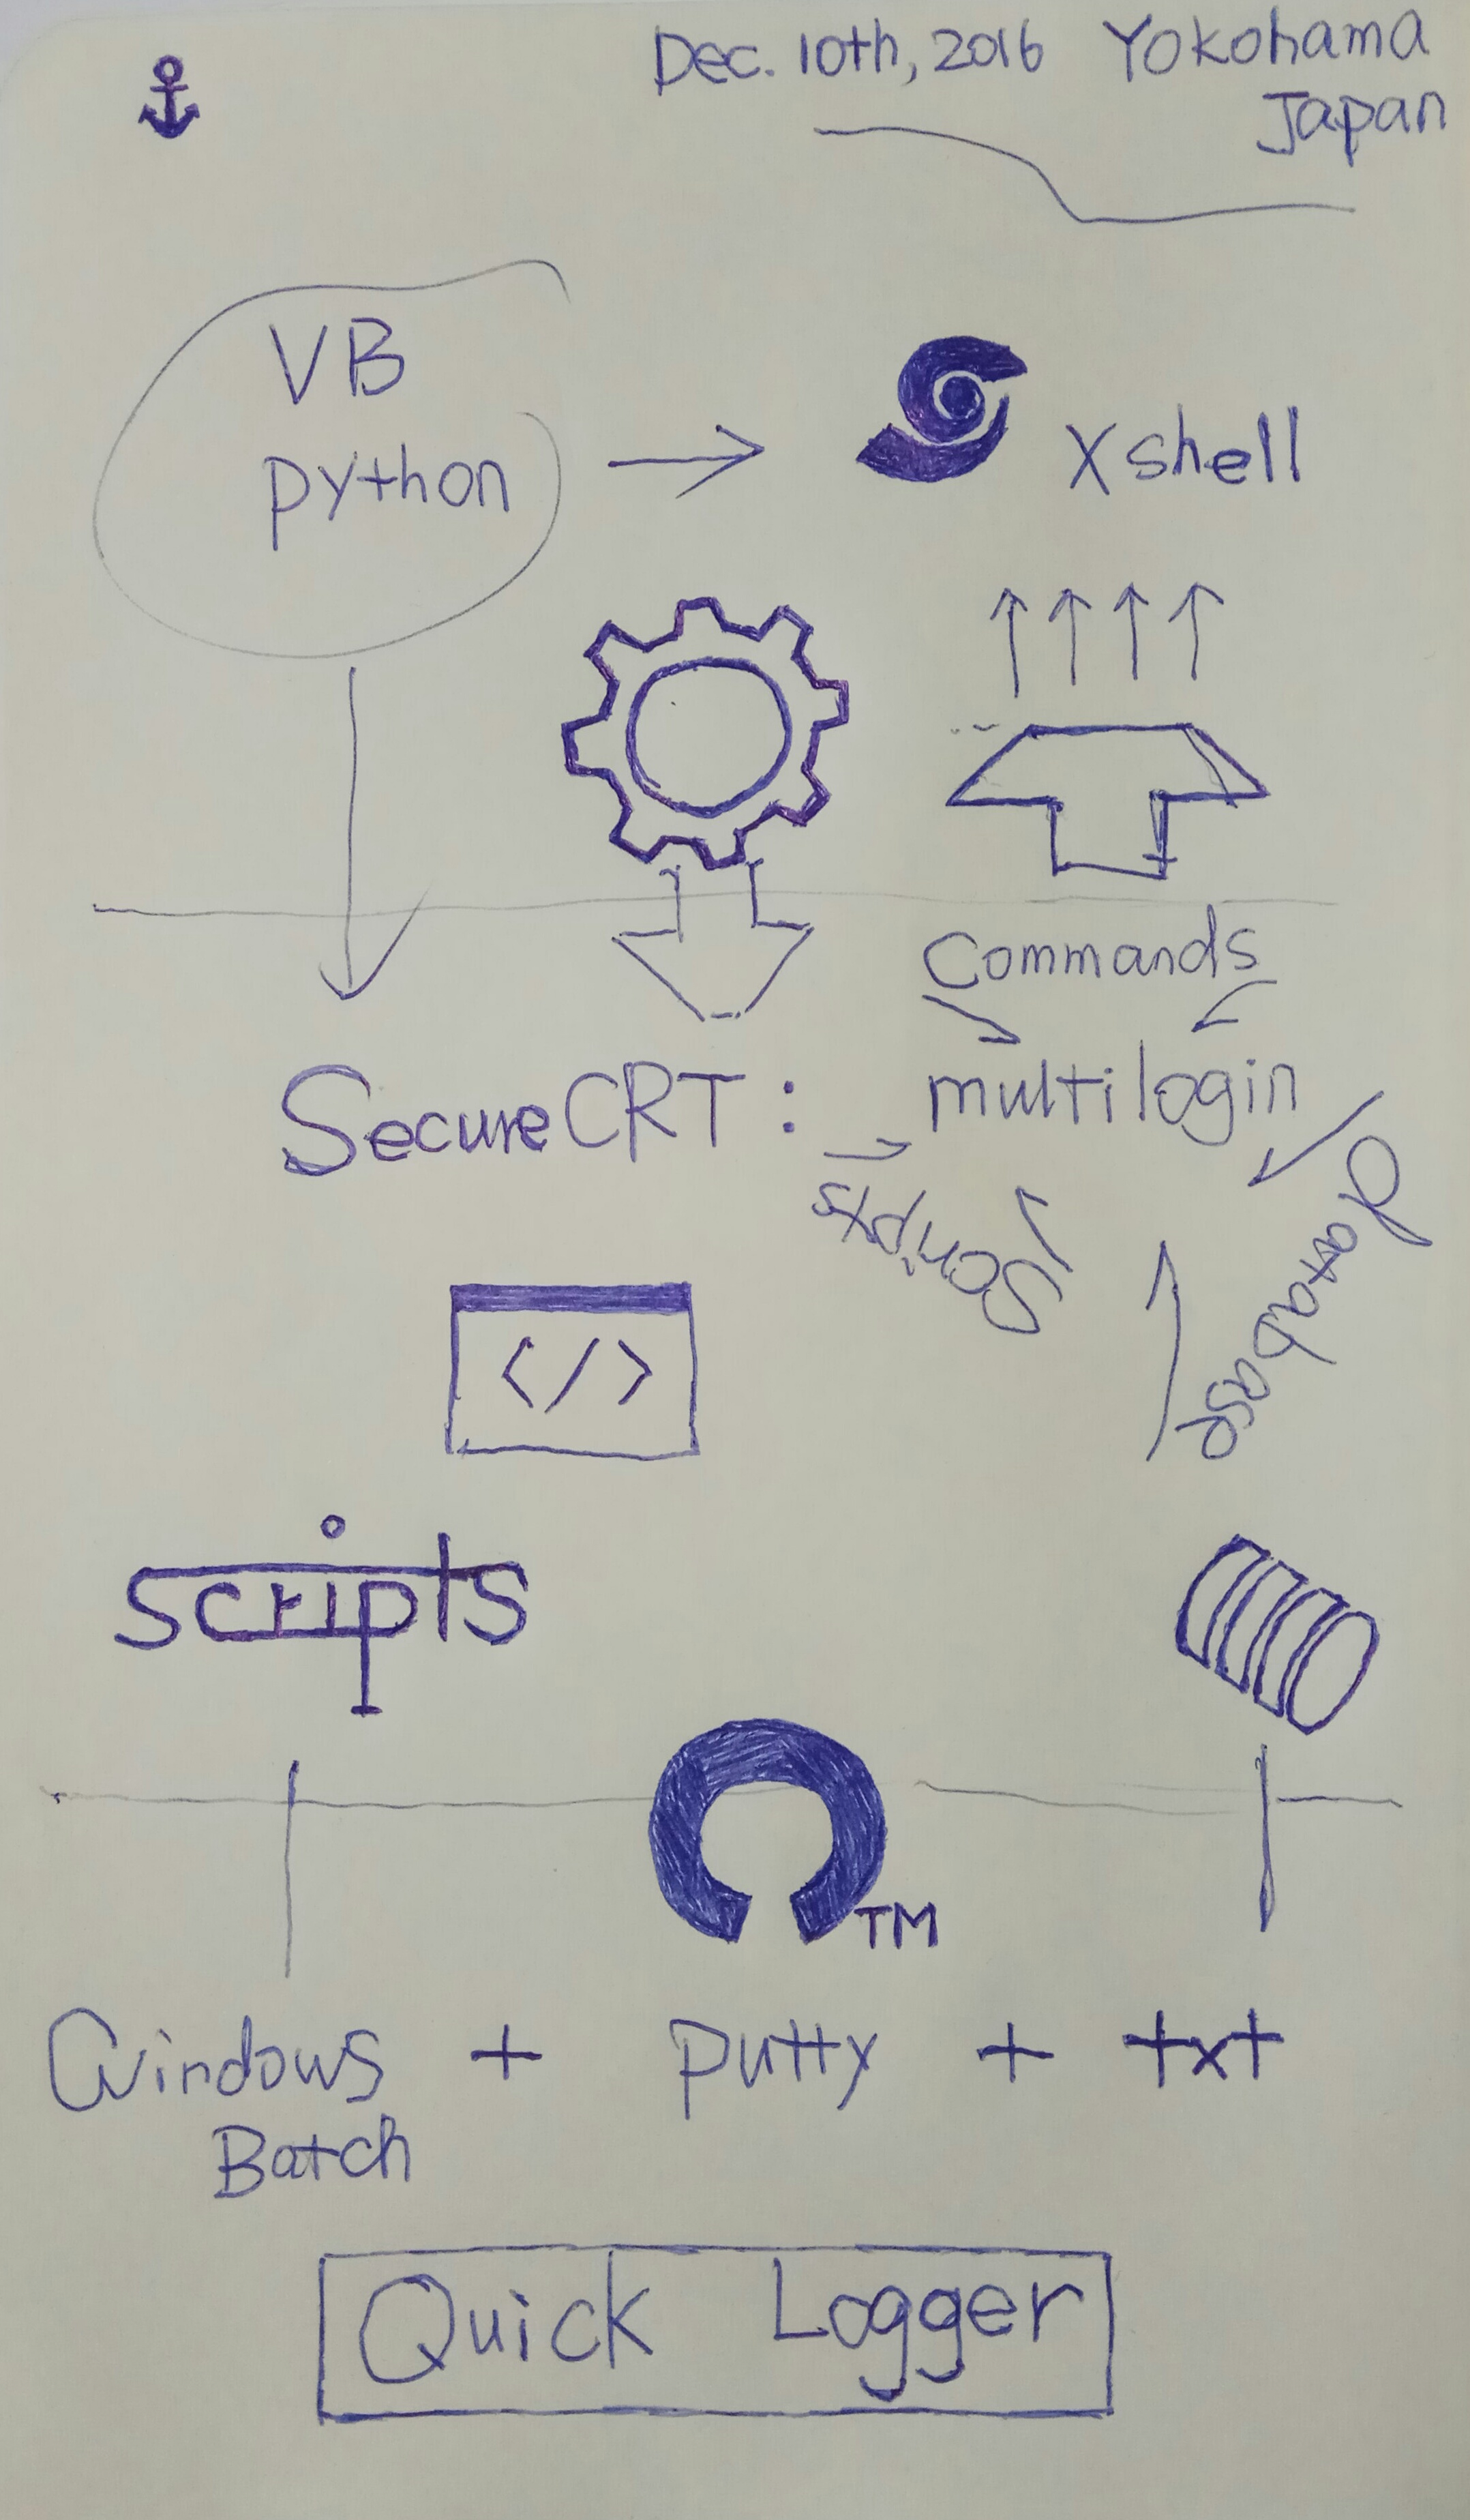
- Windows Batch 脚本 + txt 数据库 + PuTTY
- Batch + txt = 代码开放,便于后期增加 CA 节点后工具的更新
- 指令自定义
- log 和 trace 文件自由命名
- 无需在节点上做任何部署
Features:
- Portable
- Easy to configure the Port Forwarding
- Without Xshell or SecureCRT
- Windows Batch scripts + txt database + PuTTY
- Batch + txt = open source, easy to be used on later CA updates
- Customized commands
- Customized naming of log and trace file
- Without any deployment on nodes
设计和实现,到底什么更重要?
视频介绍/Video Demonstration:
下载地址/Download:
https://ericoll.internal.ericsson.com/sites/…/DispForm.aspx?ID=5508
1.在执行“check if the ports used for forwarding avaiable”时,收到提示“Please use another port”应该如何重新设置 port?
在 /common/variables/variables.txt 和 /<node>/variables/variables.txt 里面,将被占用的端口号重新设置为 0~65535 范围中的任意一个,再次检查。
2.登录了 EGW 以后,执行 /<node>/xxx_console.bat 的“check if the ports used for forwarding avaiable”,收到如下提示,是正常的吗?
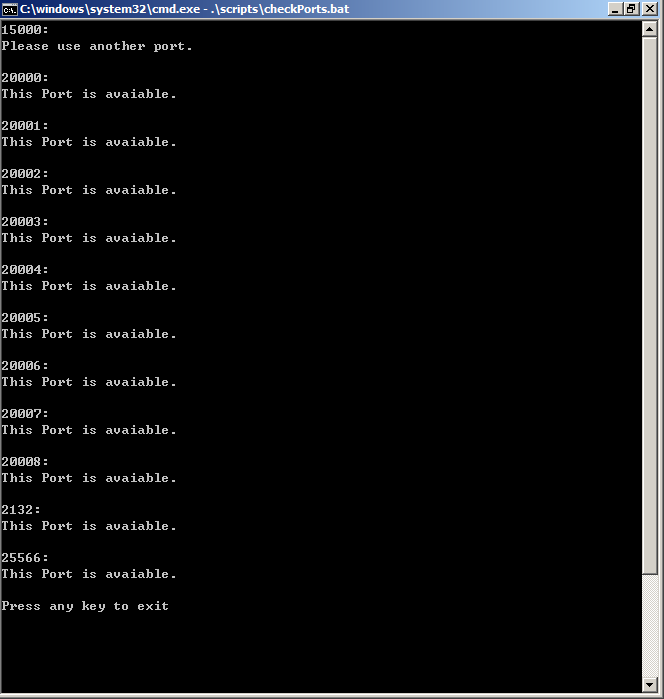
登录 EGW 时,会同时为 workstation 设置端口转发,15000 应该是 /common/variables/variables.txt 和 /<node>/variables/variables.txt 中定义的 workstation 转发端口,这是正常的。
同理,通过 /<node>/xxx_console.bat 执行 workstation 的登录后,再次检查端口占用情况,会发现 VLB 的端口占用,也是正常的。
建议:第一次使用该工具时,不要进行任何登录操作,首先分别运行 /runThisFirst.bat 和 /<node>/xxx_console.bat 检查端口占用情况。
3.在执行“start logging”时失败,然后尝试分别执行 login diff、login GUI、login workflow、login PG、login FN 时遇到了如下图的 PuTTY Security Alert 是怎么回事?
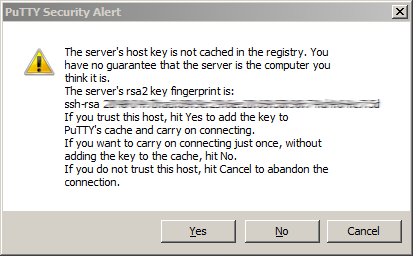
在本机端口无冲突且节点状态正常的情况下,执行“start logging”失败通常是因为与相应的节点连接有问题导致的。所以可以通过分别执行 login diff、login GUI、login wf 等,以确认连接正常。在确认过程中,可能遇到上图的提示(通常发生在首次使用该工具时),出于安全考虑,该提示不会被设计为“默许”,请谅解并根据实际情况进行选择。
There isn’t. And there won’t be. Even if you write it yourself and send us the patch, we won’t accept it. (- via PUTTY FAQ)
建议:首次使用该工具时,在执行“start logging”和“start tracing”之前,先将 login diff、login GUI、login wf 等逐个执行一遍,与各个节点建立“信任”(trust)。
4.执行“go download the latest trace files”操作时,所下载到的 trace 文件不是我刚才的 tcpdump 操作所生成的怎么办?
问题原因:程序默认下载最新的 trace 文件,如果有多个人在同一时段进行抓包测试,很可能在我们要下载时,我们的 trace 文件已经不是节点上最新的了。
解决方法:将 /<node>/tracingConfig/ 里面的 tcpdump 指令所保存的文件名字增加标识,例如保存为 xxx_etiaguo.pcap,然后到 /<node>/scripts/downloadTracing.bat 里面,将代码:
start /b ..\main\plink.exe -ssh %DIFF1User%@127.0.0.1 -P %DIFF1LocalPort% -pw %DIFF1Password% "ls -t /tmp/*.pcap | head -1" > .\tmpVarS1D1.txt
start /b ..\main\plink.exe -ssh %DIFF2User%@127.0.0.1 -P %DIFF2LocalPort% -pw %DIFF2Password% "ls -t /tmp/*.pcap | head -1" > .\tmpVarS1D2.txt
start /b ..\main\plink.exe -ssh %WF1User%@127.0.0.1 -P %WF1LocalPort% -pw %WF1Password% "ls -t /tmp/*.pcap | head -1" > .\tmpVarS1W1.txt
start /b ..\main\plink.exe -ssh %WF2User%@127.0.0.1 -P %WF2LocalPort% -pw %WF2Password% "ls -t /tmp/*.pcap | head -1" > .\tmpVarS1W2.txt
start /b ..\main\plink.exe -ssh %PG1User%@127.0.0.1 -P %PG1LocalPort% -pw %PG1Password% "ls -t /tmp/*.pcap | head -1" > .\tmpVarS1P1.txt
start /b ..\main\plink.exe -ssh %PG2User%@127.0.0.1 -P %PG2LocalPort% -pw %PG2Password% "ls -t /tmp/*.pcap | head -1" > .\tmpVarS1P2.txt
start /b ..\main\plink.exe -ssh %FNUser%@127.0.0.1 -P %FNLocalPort% -pw %FNPassword% "ls -t /tmp/*.pcap | head -1" > .\tmpVarS1FN.txt
改为:
start /b ..\main\plink.exe -ssh %DIFF1User%@127.0.0.1 -P %DIFF1LocalPort% -pw %DIFF1Password% "ls -t /tmp/*etiaguo.pcap | head -1" > .\tmpVarS1D1.txt
start /b ..\main\plink.exe -ssh %DIFF2User%@127.0.0.1 -P %DIFF2LocalPort% -pw %DIFF2Password% "ls -t /tmp/*etiaguo.pcap | head -1" > .\tmpVarS1D2.txt
start /b ..\main\plink.exe -ssh %WF1User%@127.0.0.1 -P %WF1LocalPort% -pw %WF1Password% "ls -t /tmp/*etiaguo.pcap | head -1" > .\tmpVarS1W1.txt
start /b ..\main\plink.exe -ssh %WF2User%@127.0.0.1 -P %WF2LocalPort% -pw %WF2Password% "ls -t /tmp/*etiaguo.pcap | head -1" > .\tmpVarS1W2.txt
start /b ..\main\plink.exe -ssh %PG1User%@127.0.0.1 -P %PG1LocalPort% -pw %PG1Password% "ls -t /tmp/*etiaguo.pcap | head -1" > .\tmpVarS1P1.txt
start /b ..\main\plink.exe -ssh %PG2User%@127.0.0.1 -P %PG2LocalPort% -pw %PG2Password% "ls -t /tmp/*etiaguo.pcap | head -1" > .\tmpVarS1P2.txt
start /b ..\main\plink.exe -ssh %FNUser%@127.0.0.1 -P %FNLocalPort% -pw %FNPassword% "ls -t /tmp/*etiaguo.pcap | head -1" > .\tmpVarS1FN.txt
即可。
5.如何记录操作 log?
terminal 使用的是 PuTTY,记录 log 的方法即 PuTTY 的操作。
首先,打开 /main/putty.exe,在 Session - Logging - Log file name 选项下点击 Browse 选择路径,填写 File name,例如 &H_&Y&M&D_&T.log。上面的 Session logging 和下面的 What to do if the log file already exists 可以根据个人喜好进行选择,例如选择 Printable output 和 Ask the user every time,Flush log file frequently。
然后,点击 Session,在 Saved Sessions 下面选中要保存的 Session 名字,例如 Default Settings,点击 Save,完成。
下次使用 PuTTY 时,就会自动开始记录操作 log 了。
最近更新: